The Leland Pivoting Cone Wall Sconce puts a slender cone shade on a jointed metal arm, with a ball pivot at the shade and a knurled thumbscrew at every hinge. Loosen a screw, move the arm, tighten it again — the light stays exactly where you leave it. The cone is cut at an angle rather than straight across, so the opening reads as an ellipse and the beam leaves at a slant instead of dropping in a circle at your feet.
Lighting fixtures are no longer merely decorative accents for furniture; they function more like mechanical devices, featuring slender stems, exposed joints, and compact shades designed for directional lighting. This design honestly reveals its mechanical workings, leaving no components concealed and allowing the joints to be adjusted directly by hand. Short-arm versions are suitable for fixed installations—such as near mirrors or doorways—while long, articulated arms offer the flexibility to extend light over a bedside, a reading chair, or a desk surface. In terms of materials, vintage brass creates a warm atmosphere, whereas polished nickel offers a cool, modern aesthetic with a distinctively mechanical feel.
×2
Better Together
Buying a Pair?
Select the size marked (*2) — two together come at a better price than buying them separately.
Adjustment
Three Joints. You Set the Height.
Raise it for a mirror, drop it over a book, swing it back against the wall when nobody's using it. Each joint moves independently, and each one locks where you leave it.
01
At the wall
The base hinge
Where the arm leaves the plate. Loosen the screw and the whole arm swings up or down as one piece, and rotates side to side across the wall.
→ Sets how high the light sits, and which direction it points from.
02
Mid-arm
The elbow
The wing screw here is the one you'll use most. Open the elbow and the shade travels further out and lower; close it and the shade comes back in and rises.
→ Sets how far the light reaches, and fine-tunes the height.
03
At the shade
The ball swivel
A ball rather than a hinge, so the cone tilts in every direction at once — down onto a page, up onto a wall, or turned to throw light along a hallway.
→ Sets where the beam actually lands.
Setting It, in Order
1
Sit where you'll actually beIn the chair, up in bed, at the desk. Adjust the light from that position, not standing in front of it — a sconce set while standing is almost always aimed too high once you sit down.
2
Height first, at the base hingeSwing the whole arm up or down until the shade is roughly at the level you want. Work from the joint nearest the wall outward — set the elbow first and the base hinge will undo your work.
3
Then reach, at the elbowOpen or close the wing screw until the cone sits over the spot you want lit. This is also where you fine-tune the height — opening the elbow lowers the shade, closing it lifts it.
4
Aim last, at the ballWith the arm settled, tilt the cone until the light lands where you want it. Tighten each screw hand-firm and stop there — over-tightening wears the contact faces, and a worn joint never grips as well again.
What You See Is What You Get
Real PhotoThe cone alone — thin-walled, and cut on a slant
Real PhotoEvery part it's made of, laid out
Described Honestly
Materials, reach and finishes listed exactly as they are — including which parts are brass and which are aluminium, and why.
Genuine Materials
A spun aluminium cone on a brass arm — no plated plastic, nothing hollow pretending to be metal. Photographed in our workshop, not rendered.
Nothing Sealed Shut
Every joint is a thumbscrew you can reach and re-tighten — so if it ever loosens after years of use, a quarter turn fixes it. Nothing is glued or riveted closed.
Specifications
The Details
MaterialBrass Arm, Joints & Wall Plate · Aluminium Cone Shade Two metals doing two jobs — see the note below.
FinishWhite · Black · Gold · Nickel
Light sourceLED or Edison bulb — warm white 2700K recommended Bulb not included.
Bulb baseE12 or E14 The small candelabra screw base — E12 in North America, E14 in Europe and most of Asia.
VoltageAC 110–240V
ControlWall switch — dimmable with dimmable bulbs on a compatible dimmer
MountingWall — hardwired
AdjustmentPivots at the wall plate, the elbow, and the shade Each joint locks with a knurled thumbscrew.
EnvironmentIndoor only · IP20
Preparation time5–10 days Made and inspected at our own workshop before dispatch.
Good to Know
Why the shade is aluminium and the arm is brass
On an arm that has to hold its position, a heavy shade is the enemy. Aluminium is light enough that the joints keep their setting instead of creeping downward over the following weeks — and it still spins into a clean, thin-walled cone. The arm, joints and wall plate are brass, where the strength and the wear actually matter.
Snug, not tight
Each joint locks with a knurled thumbscrew. Hand-tighten only — firm enough that the arm stays put, and no further. Over-tightening wears the contact faces, and once they are worn the joint will never hold as well again. If a joint starts to drift after a year, tighten it a quarter turn rather than replacing anything.
Size Guide
Short Arm or Long Reach
Two versions of the same sconce. The shade is identical on both — what changes is how far it travels from the wall, and that decides which one belongs in your room.
Shade opening∅ 6.3″16 cm
Shade length7.3″18.5 cm along the slant
Collar3.9″10 cm
The cone is exactly the same on both versions — so the pool of light it throws is the same too. You are choosing an arm, not a shade.
Short Arm
Arm 5″ · Plate ∅ 4.7″Arm 12.8 cm · round plate 12 cm
ReachesAbout 5″ from the wall
AdjustsTwo points — at the plate and at the shade. Aim it up, down, or side to side; it stays close to the wall.
Best forBeside a mirror · either side of a doorway · hallway run · picture wall · narrow spaces where an arm would be in the way
WallNeeds 12″ + clear width
Choose this when the light only needs to point, not travel.
Long Articulating ArmMost Chosen
17.7″ + 9.8″ · Plate 5.9″ × 3.9″45 + 25 cm · rectangular plate 15 × 10 cm
ReachesRoughly 27.5″ at full extension
AdjustsThree points — plate, elbow and shade. The upper arm carries a further 5.9″ / 15.1 cm past the elbow as a counterbalance.
Best forOver a bed · beside a reading chair · above a desk · anywhere the wall isn't next to the thing you want lit
WallNeeds 36″ + clear width
Choose this when the light has to come to you.
The design
A Light That Does What You Tell It
Every joint is visible. That was the point.
The Leland Pivoting Cone Wall Sconce comes from the decades when lighting stopped being furniture and started being equipment. Designers looked at the drafting table, the workshop bench, the surgeon's lamp — objects built to be aimed — and realised something ordinary sconces had been getting wrong for a century. A fixed light decides for you. An adjustable one asks.
So nothing here is concealed. The rods stay thin, the pivots stay exposed, and the thumbscrews are knurled because a hand has to turn them. You can see how it works simply by looking at it, which is the honesty a piece of equipment has and a decorative object usually does not. The cone is cut on a slant rather than straight across — a small decision that changes everything, because an angled mouth throws an ellipse instead of a circle, and lets you aim the shade almost sideways without the bulb ever coming into view.
What it gives you back is the thing no fixed sconce can. The book moves, so the light moves. Someone else takes the chair, so the light turns. You rearrange the room in three years and the sconce simply points somewhere else instead of becoming the thing that no longer fits. Aged brass reads warm and worn-in; polished nickel reads like an instrument. Either way it stays exactly where your hand left it.
— Point it. Tighten it. Forget it. —
Materials
Why Brass & Aluminium
Two metals, chosen for two different jobs. On a light with moving joints, that choice is the difference between one that holds and one that sags.
Brass arm + Aluminium shadePainted steel throughout
The shadeAluminium — light enough that the arm holds its positionSteel is heavier, and the extra weight pulls the joint down over time
The jointsBrass wears smooth and keeps gripping year after yearSteel on steel grinds, then starts to slip
RustNeither metal has iron in it — a scratch stays a scratchOne chip in the paint and rust starts spreading underneath
Being handledYou touch this light often; brass takes it and looks better for itPaint wears through first at exactly the spots you grip
Inside the shadeFinished pale, so the light comes out white and cleanBare or dark inside — the glow picks up a metallic tint
In the handA light shade on a solid arm — exactly the right way roundHeavy where it should be light, thin where it should be strong
Questions, Answered
Common Questions
Will it stay where I put it, or droop over time?
It stays. Each joint is locked with a knurled thumbscrew — you loosen it, move the arm, and tighten it again. That is a mechanical lock, not just friction, which is why it holds far longer than the arms that rely on stiffness alone.
If a joint ever does start to move on its own after a few years, tighten it a quarter turn and it is fixed. Nothing needs replacing.
Why is the shade aluminium and not brass?
Because weight at the end of an arm is what makes a joint sag. A brass shade would look the same in a photo and slowly ruin the thing that matters — the arm holding its position. Aluminium is light, spins into a clean thin cone, and keeps the balance right. The brass is where it does real work: the arm, the pivots, and the wall plate.
How much light does it actually give?
Enough to read by, aimed rather than spread. The cone throws a directed pool of light instead of filling the room — which is the point of it. If you want it as your only light source in a room, it will not do that job; pair it with something ambient and use this one for the chair, the bed, or the desk.
Will the bulb shine in my eyes?
Not at normal angles. The cone is cut on a slant rather than straight across, so you can tilt it close to horizontal and the opening still shields the bulb — a straight-cut shade starts glaring much sooner.
If you plan to aim it very low from a seated position, fit a frosted bulb rather than a clear filament one and the problem disappears entirely.
Which bulb should I buy?
A small screw-in bulb: E12 in the US and Canada, E14 in Europe and most of Asia. Choose LED rather than halogen — the shade is small and sits close around the bulb, and LED runs far cooler in that space. Warm white, around 2700K, suits the finishes best.
Can I dim it?
Yes, with a dimmable bulb on a dimmer switch. An ordinary bulb will not dim no matter which switch you fit — that is the most common reason people think a new light is faulty. On a reading light a dimmer earns its place quickly.
Can I put it in a bathroom?
It is rated IP20 — indoor dry rooms only, with no protection against water or steam. Beside a bedroom mirror, fine. Beside a bathroom mirror, no — that position needs a fixture specifically rated for damp conditions, whatever it looks like.
How do I clean it?
A soft dry cloth on the shade and the arm; barely damp for fingerprints on the metal, then dry it off. No polish and nothing abrasive — the joints have machined faces and a scouring pad on those does real harm. Switch off and let the bulb cool first.
Installation
The Complete Installation Guide
Not sure how to wire it, how high to hang it, or whether you need an electrician? Our full guide walks through every step for US homes.
01
Power Off First
Switch off at the breaker and confirm before you touch any wiring.
02
Check the Box
Make sure your junction box is standard, secure, and rated for the weight.
03
Match the Wires
Black to black, white to white, ground to ground — the US standard explained.
04
Set the Height
Mounting heights and clearances for sconces, pendants, and chandeliers.
The Leland Pivoting Cone Wall Sconce puts a slender cone shade on a jointed metal arm, with a ball pivot at the shade and a knurled thumbscrew at every hinge. Loosen a screw, move the arm, tighten it again — the light stays exactly where you leave it. The cone is cut at an angle rather than straight across, so the opening reads as an ellipse and the beam leaves at a slant instead of dropping in a circle at your feet.
Lighting fixtures are no longer merely decorative accents for furniture; they function more like mechanical devices, featuring slender stems, exposed joints, and compact shades designed for directional lighting. This design honestly reveals its mechanical workings, leaving no components concealed and allowing the joints to be adjusted directly by hand. Short-arm versions are suitable for fixed installations—such as near mirrors or doorways—while long, articulated arms offer the flexibility to extend light over a bedside, a reading chair, or a desk surface. In terms of materials, vintage brass creates a warm atmosphere, whereas polished nickel offers a cool, modern aesthetic with a distinctively mechanical feel.
×2
Better Together
Buying a Pair?
Select the size marked (*2) — two together come at a better price than buying them separately.
Adjustment
Three Joints. You Set the Height.
Raise it for a mirror, drop it over a book, swing it back against the wall when nobody's using it. Each joint moves independently, and each one locks where you leave it.
01
At the wall
The base hinge
Where the arm leaves the plate. Loosen the screw and the whole arm swings up or down as one piece, and rotates side to side across the wall.
→ Sets how high the light sits, and which direction it points from.
02
Mid-arm
The elbow
The wing screw here is the one you'll use most. Open the elbow and the shade travels further out and lower; close it and the shade comes back in and rises.
→ Sets how far the light reaches, and fine-tunes the height.
03
At the shade
The ball swivel
A ball rather than a hinge, so the cone tilts in every direction at once — down onto a page, up onto a wall, or turned to throw light along a hallway.
→ Sets where the beam actually lands.
Setting It, in Order
1
Sit where you'll actually beIn the chair, up in bed, at the desk. Adjust the light from that position, not standing in front of it — a sconce set while standing is almost always aimed too high once you sit down.
2
Height first, at the base hingeSwing the whole arm up or down until the shade is roughly at the level you want. Work from the joint nearest the wall outward — set the elbow first and the base hinge will undo your work.
3
Then reach, at the elbowOpen or close the wing screw until the cone sits over the spot you want lit. This is also where you fine-tune the height — opening the elbow lowers the shade, closing it lifts it.
4
Aim last, at the ballWith the arm settled, tilt the cone until the light lands where you want it. Tighten each screw hand-firm and stop there — over-tightening wears the contact faces, and a worn joint never grips as well again.
What You See Is What You Get
Real PhotoThe cone alone — thin-walled, and cut on a slant
Real PhotoEvery part it's made of, laid out
Described Honestly
Materials, reach and finishes listed exactly as they are — including which parts are brass and which are aluminium, and why.
Genuine Materials
A spun aluminium cone on a brass arm — no plated plastic, nothing hollow pretending to be metal. Photographed in our workshop, not rendered.
Nothing Sealed Shut
Every joint is a thumbscrew you can reach and re-tighten — so if it ever loosens after years of use, a quarter turn fixes it. Nothing is glued or riveted closed.
Specifications
The Details
MaterialBrass Arm, Joints & Wall Plate · Aluminium Cone Shade Two metals doing two jobs — see the note below.
FinishWhite · Black · Gold · Nickel
Light sourceLED or Edison bulb — warm white 2700K recommended Bulb not included.
Bulb baseE12 or E14 The small candelabra screw base — E12 in North America, E14 in Europe and most of Asia.
VoltageAC 110–240V
ControlWall switch — dimmable with dimmable bulbs on a compatible dimmer
MountingWall — hardwired
AdjustmentPivots at the wall plate, the elbow, and the shade Each joint locks with a knurled thumbscrew.
EnvironmentIndoor only · IP20
Preparation time5–10 days Made and inspected at our own workshop before dispatch.
Good to Know
Why the shade is aluminium and the arm is brass
On an arm that has to hold its position, a heavy shade is the enemy. Aluminium is light enough that the joints keep their setting instead of creeping downward over the following weeks — and it still spins into a clean, thin-walled cone. The arm, joints and wall plate are brass, where the strength and the wear actually matter.
Snug, not tight
Each joint locks with a knurled thumbscrew. Hand-tighten only — firm enough that the arm stays put, and no further. Over-tightening wears the contact faces, and once they are worn the joint will never hold as well again. If a joint starts to drift after a year, tighten it a quarter turn rather than replacing anything.
Size Guide
Short Arm or Long Reach
Two versions of the same sconce. The shade is identical on both — what changes is how far it travels from the wall, and that decides which one belongs in your room.
Shade opening∅ 6.3″16 cm
Shade length7.3″18.5 cm along the slant
Collar3.9″10 cm
The cone is exactly the same on both versions — so the pool of light it throws is the same too. You are choosing an arm, not a shade.
Short Arm
Arm 5″ · Plate ∅ 4.7″Arm 12.8 cm · round plate 12 cm
ReachesAbout 5″ from the wall
AdjustsTwo points — at the plate and at the shade. Aim it up, down, or side to side; it stays close to the wall.
Best forBeside a mirror · either side of a doorway · hallway run · picture wall · narrow spaces where an arm would be in the way
WallNeeds 12″ + clear width
Choose this when the light only needs to point, not travel.
Long Articulating ArmMost Chosen
17.7″ + 9.8″ · Plate 5.9″ × 3.9″45 + 25 cm · rectangular plate 15 × 10 cm
ReachesRoughly 27.5″ at full extension
AdjustsThree points — plate, elbow and shade. The upper arm carries a further 5.9″ / 15.1 cm past the elbow as a counterbalance.
Best forOver a bed · beside a reading chair · above a desk · anywhere the wall isn't next to the thing you want lit
WallNeeds 36″ + clear width
Choose this when the light has to come to you.
The design
A Light That Does What You Tell It
Every joint is visible. That was the point.
The Leland Pivoting Cone Wall Sconce comes from the decades when lighting stopped being furniture and started being equipment. Designers looked at the drafting table, the workshop bench, the surgeon's lamp — objects built to be aimed — and realised something ordinary sconces had been getting wrong for a century. A fixed light decides for you. An adjustable one asks.
So nothing here is concealed. The rods stay thin, the pivots stay exposed, and the thumbscrews are knurled because a hand has to turn them. You can see how it works simply by looking at it, which is the honesty a piece of equipment has and a decorative object usually does not. The cone is cut on a slant rather than straight across — a small decision that changes everything, because an angled mouth throws an ellipse instead of a circle, and lets you aim the shade almost sideways without the bulb ever coming into view.
What it gives you back is the thing no fixed sconce can. The book moves, so the light moves. Someone else takes the chair, so the light turns. You rearrange the room in three years and the sconce simply points somewhere else instead of becoming the thing that no longer fits. Aged brass reads warm and worn-in; polished nickel reads like an instrument. Either way it stays exactly where your hand left it.
— Point it. Tighten it. Forget it. —
Materials
Why Brass & Aluminium
Two metals, chosen for two different jobs. On a light with moving joints, that choice is the difference between one that holds and one that sags.
Brass arm + Aluminium shadePainted steel throughout
The shadeAluminium — light enough that the arm holds its positionSteel is heavier, and the extra weight pulls the joint down over time
The jointsBrass wears smooth and keeps gripping year after yearSteel on steel grinds, then starts to slip
RustNeither metal has iron in it — a scratch stays a scratchOne chip in the paint and rust starts spreading underneath
Being handledYou touch this light often; brass takes it and looks better for itPaint wears through first at exactly the spots you grip
Inside the shadeFinished pale, so the light comes out white and cleanBare or dark inside — the glow picks up a metallic tint
In the handA light shade on a solid arm — exactly the right way roundHeavy where it should be light, thin where it should be strong
Questions, Answered
Common Questions
Will it stay where I put it, or droop over time?
It stays. Each joint is locked with a knurled thumbscrew — you loosen it, move the arm, and tighten it again. That is a mechanical lock, not just friction, which is why it holds far longer than the arms that rely on stiffness alone.
If a joint ever does start to move on its own after a few years, tighten it a quarter turn and it is fixed. Nothing needs replacing.
Why is the shade aluminium and not brass?
Because weight at the end of an arm is what makes a joint sag. A brass shade would look the same in a photo and slowly ruin the thing that matters — the arm holding its position. Aluminium is light, spins into a clean thin cone, and keeps the balance right. The brass is where it does real work: the arm, the pivots, and the wall plate.
How much light does it actually give?
Enough to read by, aimed rather than spread. The cone throws a directed pool of light instead of filling the room — which is the point of it. If you want it as your only light source in a room, it will not do that job; pair it with something ambient and use this one for the chair, the bed, or the desk.
Will the bulb shine in my eyes?
Not at normal angles. The cone is cut on a slant rather than straight across, so you can tilt it close to horizontal and the opening still shields the bulb — a straight-cut shade starts glaring much sooner.
If you plan to aim it very low from a seated position, fit a frosted bulb rather than a clear filament one and the problem disappears entirely.
Which bulb should I buy?
A small screw-in bulb: E12 in the US and Canada, E14 in Europe and most of Asia. Choose LED rather than halogen — the shade is small and sits close around the bulb, and LED runs far cooler in that space. Warm white, around 2700K, suits the finishes best.
Can I dim it?
Yes, with a dimmable bulb on a dimmer switch. An ordinary bulb will not dim no matter which switch you fit — that is the most common reason people think a new light is faulty. On a reading light a dimmer earns its place quickly.
Can I put it in a bathroom?
It is rated IP20 — indoor dry rooms only, with no protection against water or steam. Beside a bedroom mirror, fine. Beside a bathroom mirror, no — that position needs a fixture specifically rated for damp conditions, whatever it looks like.
How do I clean it?
A soft dry cloth on the shade and the arm; barely damp for fingerprints on the metal, then dry it off. No polish and nothing abrasive — the joints have machined faces and a scouring pad on those does real harm. Switch off and let the bulb cool first.
Installation
The Complete Installation Guide
Not sure how to wire it, how high to hang it, or whether you need an electrician? Our full guide walks through every step for US homes.
01
Power Off First
Switch off at the breaker and confirm before you touch any wiring.
02
Check the Box
Make sure your junction box is standard, secure, and rated for the weight.
03
Match the Wires
Black to black, white to white, ground to ground — the US standard explained.
04
Set the Height
Mounting heights and clearances for sconces, pendants, and chandeliers.
Every order over $100 is 10% off, applied automatically at checkout. Leave your email to see new alabaster, travertine and glass pieces from our workshop first.
No code to enter
First to hear about sales
Early look at new arrivals
We never share your email. Unsubscribe any time.
You're subscribed
Thank you for joining
We'll send new arrivals and sale news your way. Your 10% off is applied automatically at checkout on orders over $100.
The stone pattern is unique, made from genuine materials.
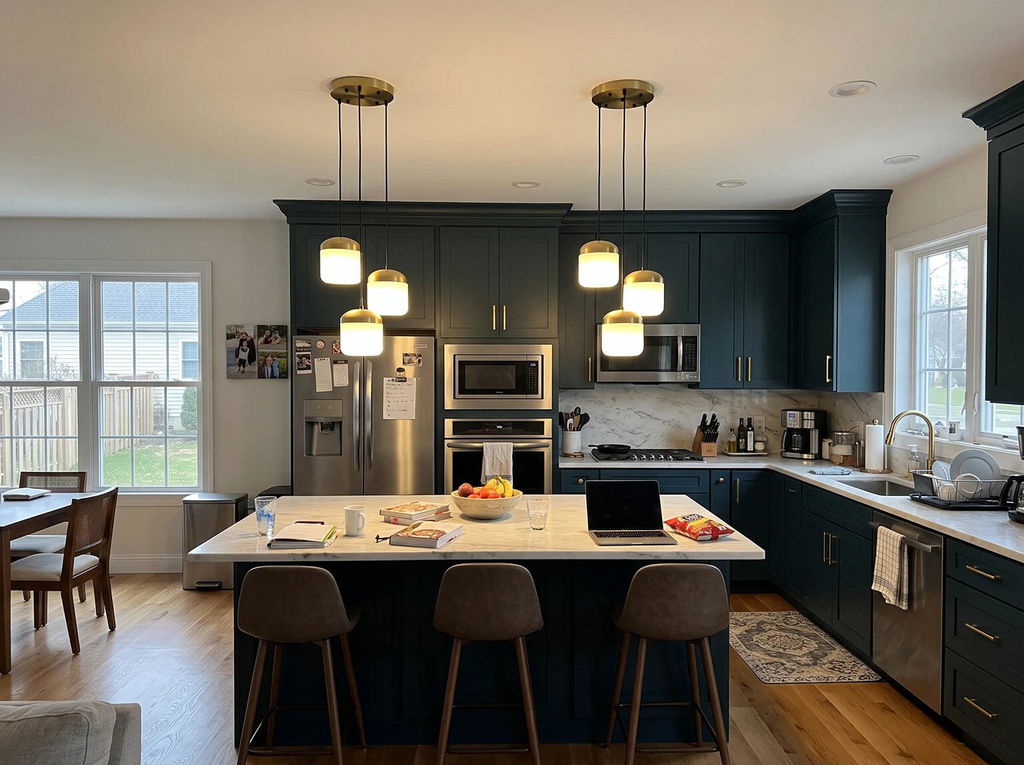
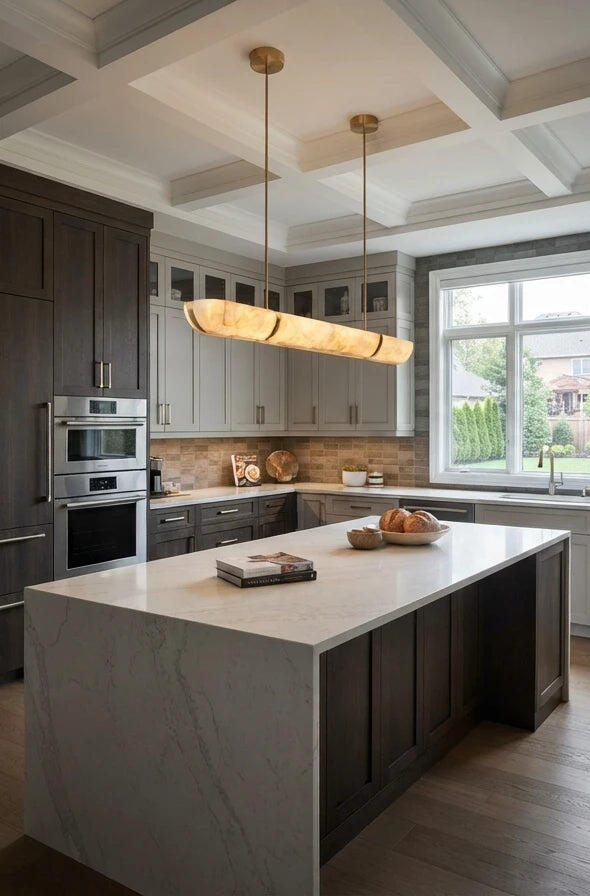
I bought a pair to hang above the kitchen island. When I received them, I noticed that the patterns on the two lamps were not quite the same. One lamp had a more misty feel, while the other had a few light brown mineral lines.
Both the base and the body are made of solid stone, giving it a satisfying weight. It feels incredibly stable, so I don't have to worry about it being easily knocked over by kids or dogs running around.
Satisfied with the entire process, from ordering to installation.
The experience was fantastic. Shipping was fast, the packaging was meticulous, and the product itself is flawless. The natural veining of the alabaster is even more exquisite than I expected.
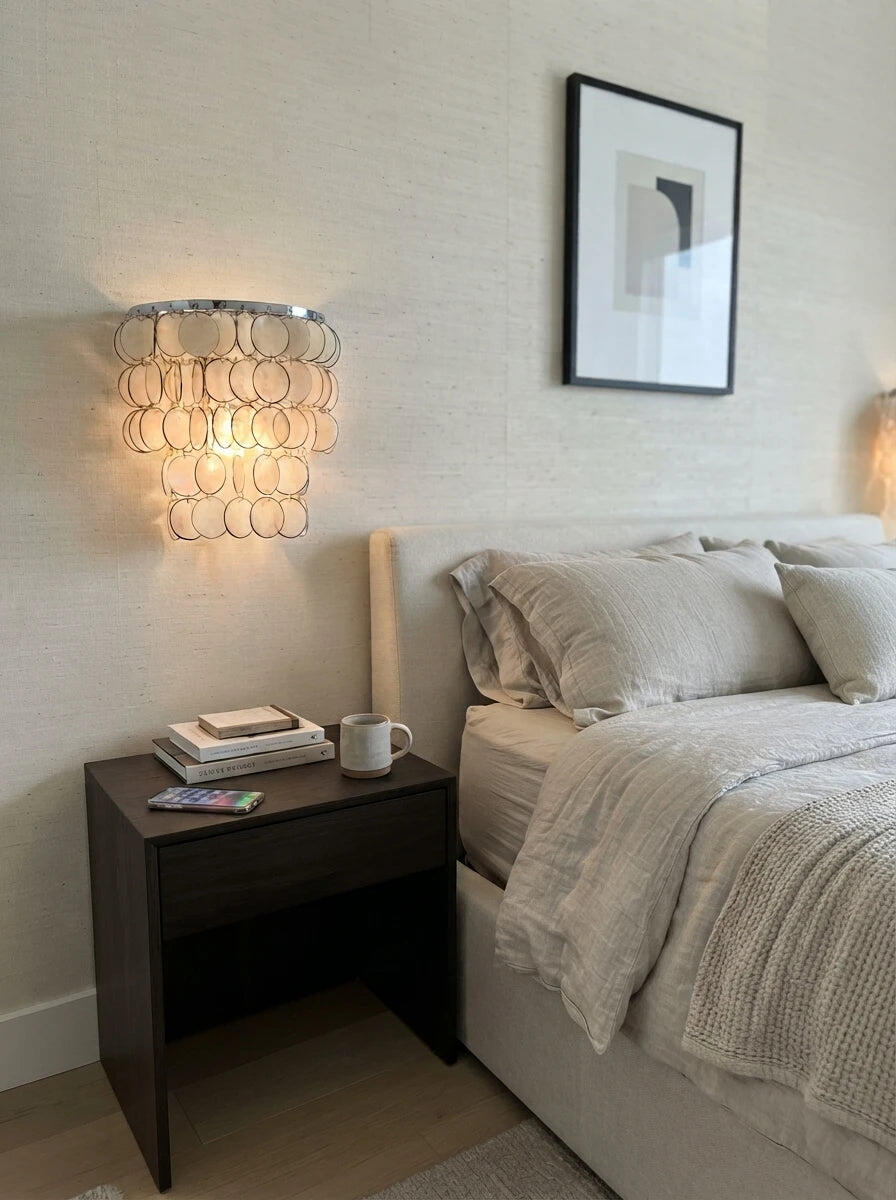
I bought this to serve as a background light for bedside reading. At night, the soft, warm glow filtering through the shells is very soothing and helps with sleep. The chrome metal ring adds a touch of sophistication—I absolutely love it.
The built-in light source has a very pleasant color temperature—a cozy warm white. When paired with the alabaster, it creates an effect reminiscent of light glowing from within a cloud, filling the room with a sense of happiness and comfort.