The Complete Lighting Installation Guide for US Homes
Where each fixture belongs, exactly how high and how far to hang it, how to size it to your room, and how chandeliers & sconces are installed — everything you need to light your home beautifully and safely.
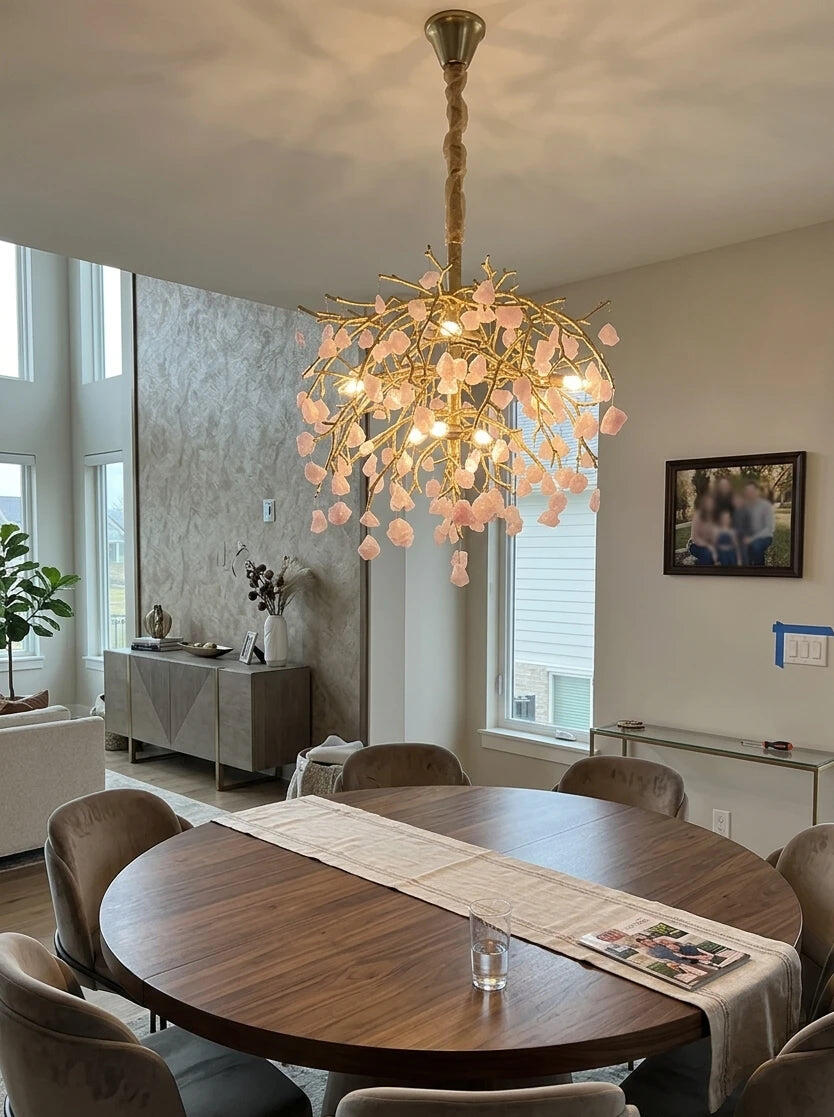
Chandeliers
The room's centerpiece — meant to be seen in full. Best where it can anchor a space and fill vertical room.
Over a dining table
Bottom 30–36″ above the tabletop; diameter ≈ ½–⅔ the table width.
Open floor / walkway
At least 7 ft (84″) from floor to the bottom of the fixture.
Two-story foyer
Centered; bottom sits just above the second-floor window line.
Size formula
Room length + width (ft) = diameter in inches.
High ceilings: add about 3″ of drop per foot above an 8 ft ceiling.
↑ Back to topWall Sconces
Space-saving wall lights that add soft, layered glow. Best in pairs to frame a mirror, bed, or fireplace.
General height
Center about 60–66″ from the floor (eye level).
Beside a mirror
One each side, 60–66″ high, 28–30″ apart.
Down a hallway
Space sconces 8–10 ft apart for even rhythm.
Bedside reading
Mount a little lower, near seated eye level.
Bathroom: mount away from direct water spray and have it wired by a professional.
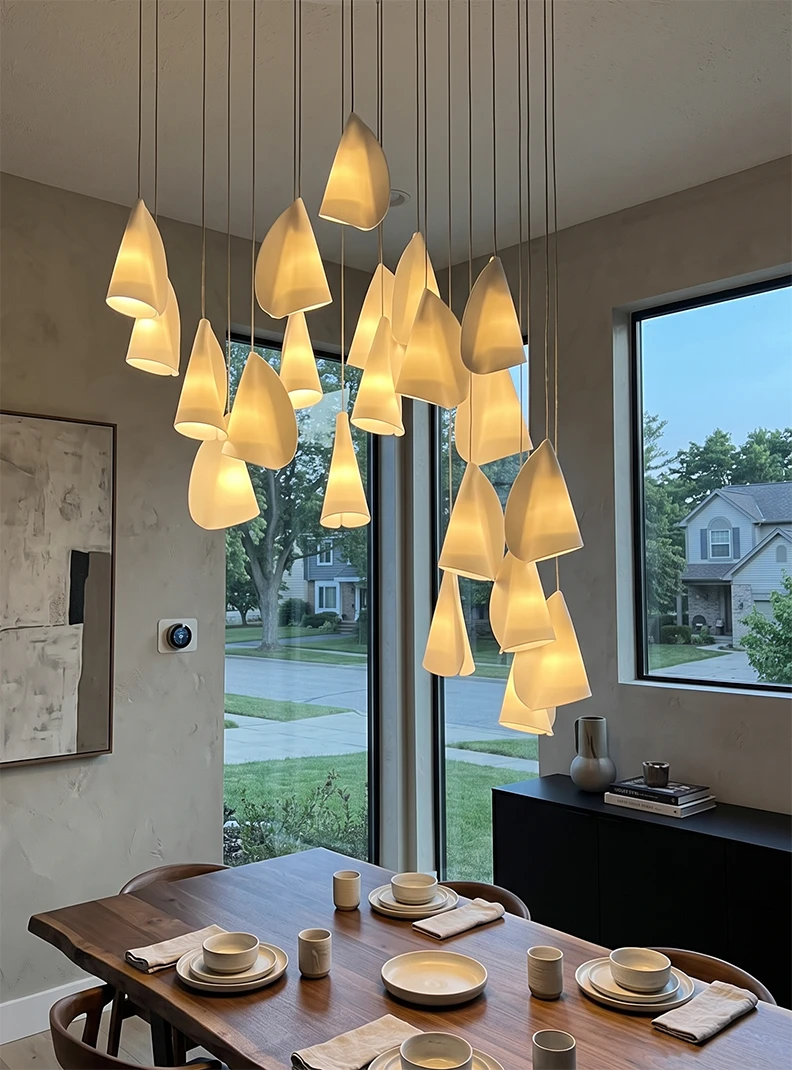
↑ Back to topPendant Lights
Single or grouped hanging lights for task and accent — the workhorse over islands and counters.
Above a counter
Bottom 30–36″ above the surface.
Spacing in a row
Center 24–30″ apart; ends ~6″ in from island edges.
How many
About one pendant per 2 ft of island length.
Over a table
Same 30–36″ clearance; group narrower than the table.
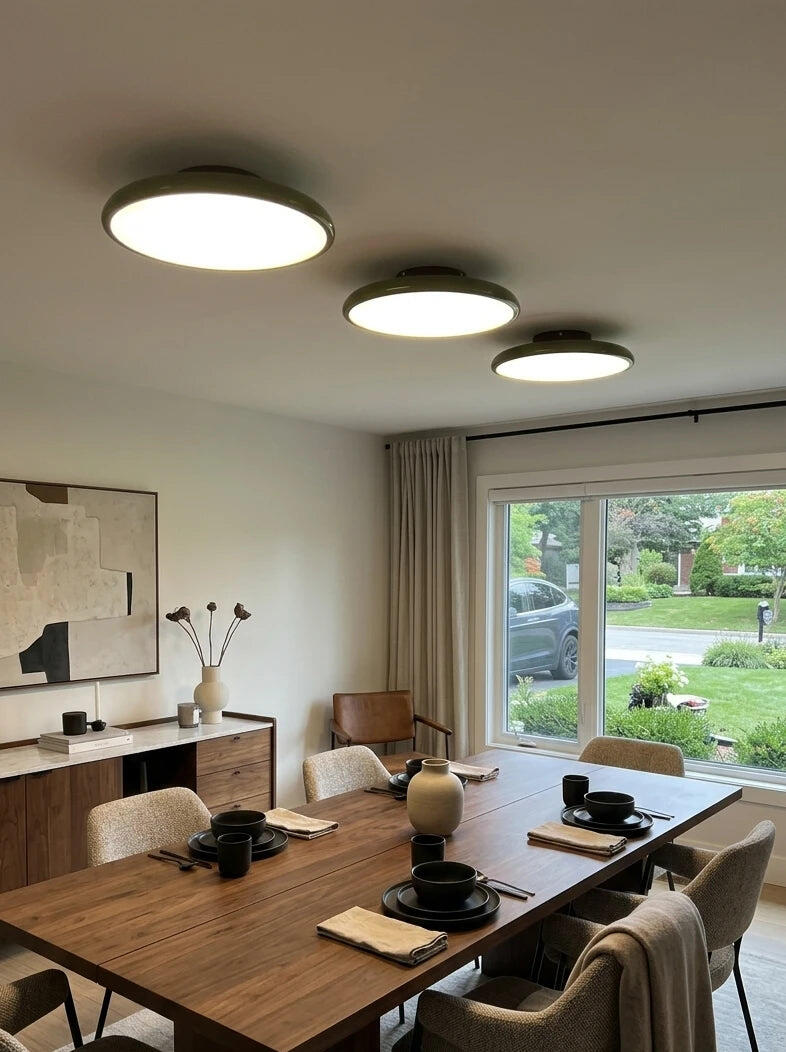
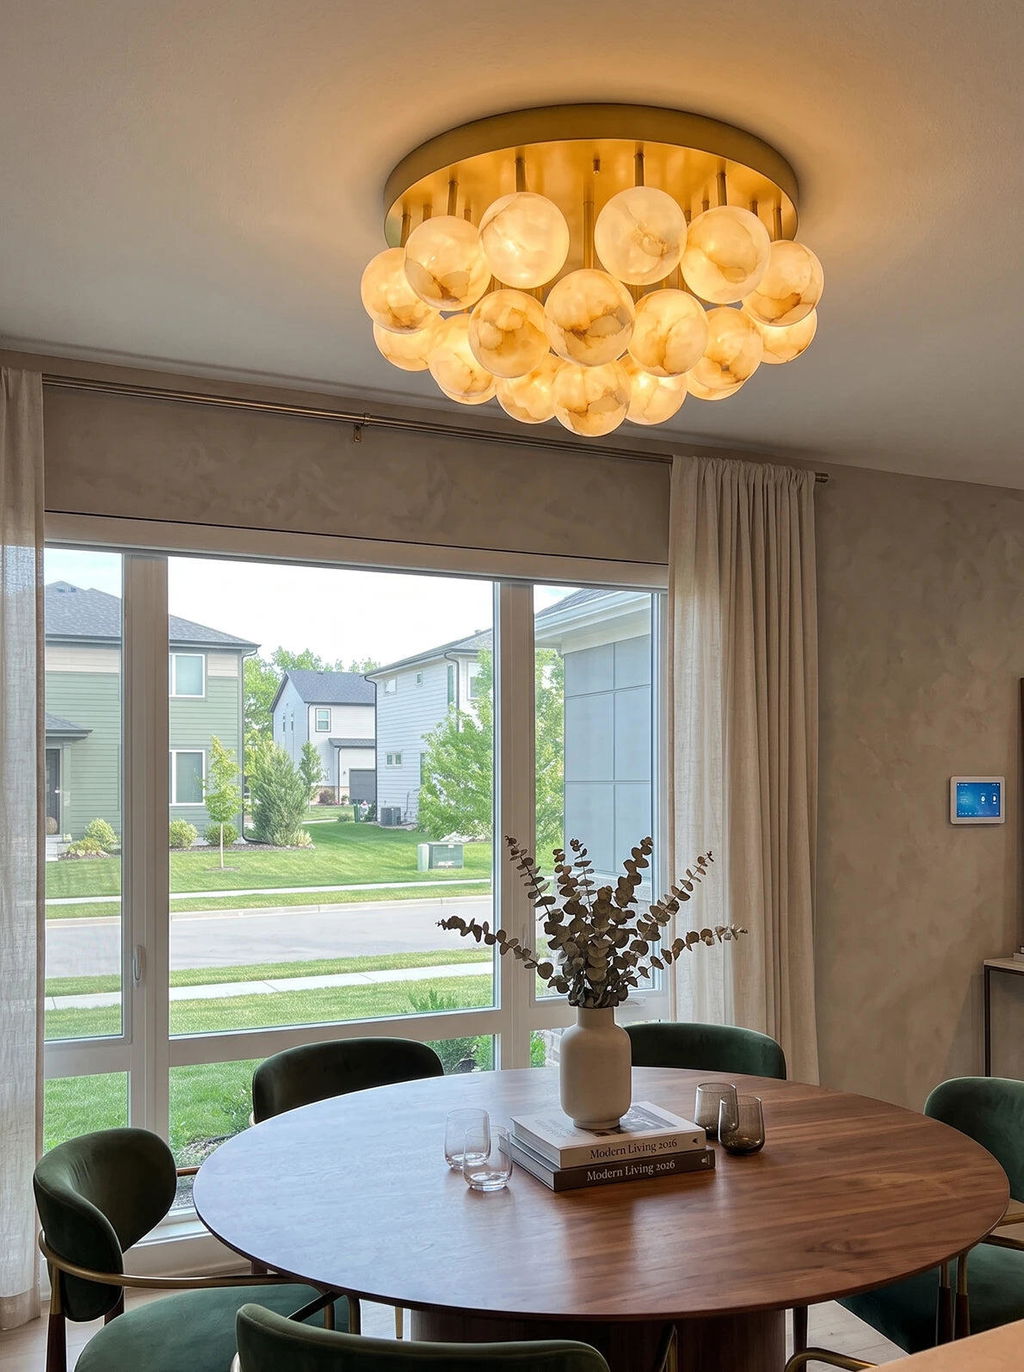
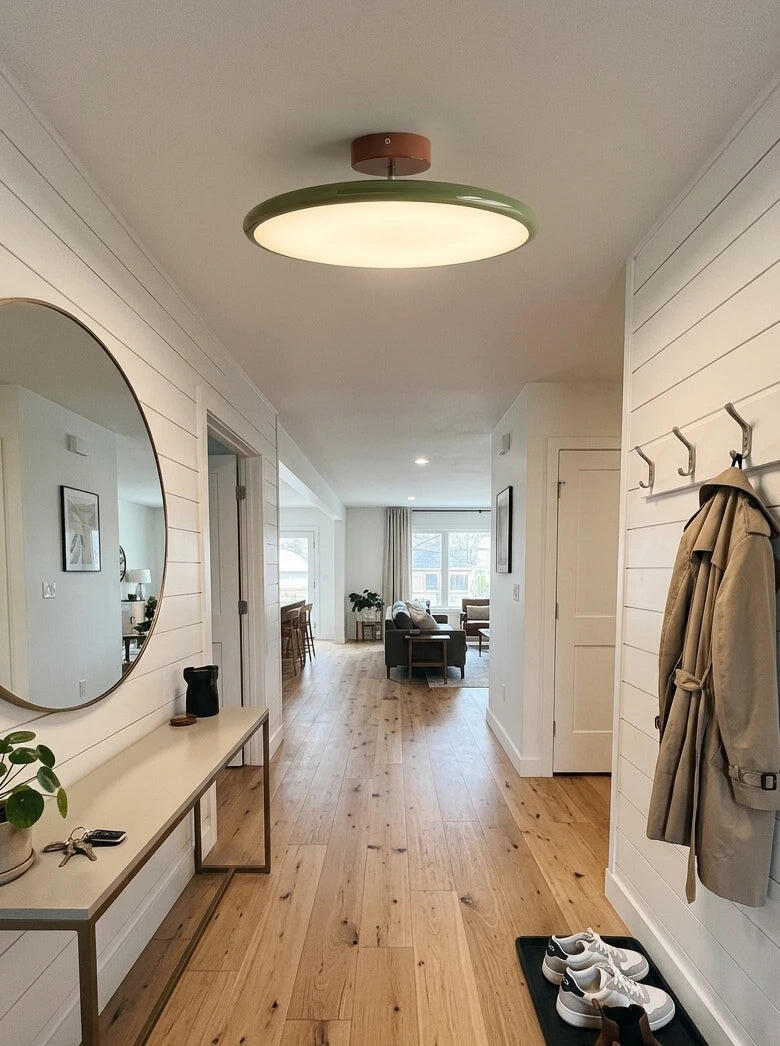
Ceiling Lights (Flush / Semi-Flush)
Close-to-ceiling fixtures for general light where headroom matters — ideal for lower ceilings and busy rooms.
Low ceilings (under 8 ft)
Use a flush mount; for 8–10 ft, a semi-flush hangs 4–8″ down.
Diameter formula
Room length + width (ft) = diameter in inches.
Headroom
Keep the bottom at least 7 ft off the floor in walkways.
Spacing (multiple)
In big rooms, space them about 8–10 ft apart.
Table Lamps
The finishing layer — warm pools of light on nightstands, side tables, and desks.
Bedside height
Shade bottom 20–24″ above the tabletop (eye level when seated).
Total lamp height
Lamp + shade usually 24–32″ for a nightstand.
On a desk
Base ~15″ from the edge; shade near seated eye level.
Proportion
Shade no wider than the table; ≈ ⅓ the lamp height.
Floor Lamps
Movable light that fills corners and adds task or ambient glow — no wiring needed.
Reading height
Shade bottom 40–42″ from the floor (seated eye level).
Beside seating
Set it 12–18″ behind/beside a chair for over-shoulder light.
Arc lamps
Base 2–3 ft to the side; arc reaches over a sofa.
Corner fill
Aim a torchiere upward to bounce light off the ceiling.
Tip: place near an outlet so the cord never crosses a walkway.
↑ Back to topInstalling a Chandelier
Safety first: switch off power at the breaker and confirm wires are dead with a voltage tester. Chandeliers are heavy — two people and a sturdy ladder make this far safer. Hire a licensed electrician if unsure.
Cut power & verify
Switch off the circuit; confirm the wires are dead with a voltage tester.
Check the ceiling box
Must be a fixture-rated, braced box that supports the chandelier's weight. Upgrade if needed.
Set the hanging height
Adjust chain/downrod before wiring — 30–36″ above a table, or 7 ft above floor.
Attach the mounting bracket
Screw the bracket firmly and level to the box — it carries the weight.
Connect the wires
With a helper holding the fixture: black to black, white to white, green/bare to ground.
Canopy, bulbs, glass & test
Fit the canopy, then add bulbs and any glass/crystal last. Restore power and test.
Installing a Wall Sconce
Safety first: a sconce is lighter and usually a one-person job, but the same rule applies — cut power at the breaker and verify the wires are dead before starting.
Cut power & verify
Switch off the circuit and confirm the wires are dead with a voltage tester.
Mark the height
Center about 60–66″ from the floor; for a pair, mark both level and 28–30″ apart.
Attach the bracket
Screw the mounting bracket to the wall box, using a level so it sits straight.
Connect the wires
Match black to black, white to white, green/bare to ground; fold neatly into the box.
Secure sconce & canopy
Mount the base so the canopy sits flush to the wall, covering the box.
Bulb, glass & test
Fit the bulb and shade last, restore power, and test. Re-check a pair sits level.
Common Mistakes & US Safety Notes
Hanging too high. A chandelier near the ceiling looks undersized — keep it 30–36″ above the table.
Sconces above eye level. Above 66″ they wash the ceiling instead of the face.
Wrong electrical box. Heavy fixtures need a fixture-rated, braced box — never a standard one.
US voltage. All Vidirlighting fixtures run on the US standard 110–120V and meet US wiring conventions.
Bathrooms. Keep fixtures away from water spray and follow local code — use a professional.
Dimming. Use dimmable-rated bulbs with a compatible dimmer; never run a fan motor off a dimmer.
Installation FAQ
Are Vidirlighting fixtures compatible with US wiring?
Do I need an electrician?
How high should a chandelier hang?
What size fixture for my room?
Does my ceiling box need reinforcement?
Can I customize cord or chain length?
Need help choosing or sizing a fixture?
Tell us your room dimensions and ceiling height — our team will recommend the right fixture, size, and placement, and can customize any piece to fit your home.
Get a Personalized Recommendation